Showing posts with label Lighting. Show all posts

Wednesday, January 25, 2017

Street Address and Front Entry Lights

Here's another project that has "finally" been tackled: our street address plaque.

Here's the old version that came with the house:


You can see where there used to be a security light above the plaque. It was against HOA guidelines, kinda ugly, and made it impossible to read our street address when it was on, so it was an easy choice to remove it.

I have had the numerals for our new plaque sitting in my shop for over two years now. This project was delayed again and again because I wanted our street address to be back lit or illuminated somehow. Potential solutions ranged from back lighting with LEDs, to using one or more spotlights, to using an electroluminescent panel. I finally decided to just use a length of LED strip I picked up on sale a while ago, and just get it done.

It turned out the numerals we picked up so long ago where actually meant to be set in masonry. But it was nothing a drill, a hacksaw and some superglue couldn't fix:


Here's the plaque, mounted, with the LED strip:


I'll put some silicone in the hole, and touch up the paint another (warmer) day.

Since I had my tools out, I decided to mount the rest of the LED strip under the eave of the roof along the side of the garage. It was pretty dim along the walkway to our front door before this:


Now walking to the front door after dark is a completely different experience!


Sunday, October 9, 2016

Outdoor Smart Lights

I picked up a couple of LIFX color 1000 smart bulbs last week when they went on sale. I've been wanting to put smart bulbs in the two light fixtures bracketing the garage for a while now.

LIFX bulbs are brighter, have better color reproduction (and better whites), and are more responsive than any other smart RGB bulb I'm aware of today. However, they are are also pretty large:


The light fixtures I wanted to put these bulbs in were designed for a standard A19 bulb, and the LIFX bulbs just did not fit well. So I made 1.75" strips from scrap sheet metal, spray-painted them flat black, and dropped the light fixture down to fit the new bulbs:


It's not professional grade, but I don't think anyone will notice the extra metal strip unless they are specifically looking for it.

I did change the wiring for these lights. They used to be on a dimmer switch with the front porch light. These smart bulbs are not supposed to be on a dimmer, but beyond that, I didn't want these smart bulbs to be on a switch that we use regularly. A smart bulb on a switched power supply becomes awfully dumb when the power is off.

I came up with the following solution:


The wire coming out of the light fixture now ends in a male electrical plug. The wire coming from the front porch dimmer switch now terminates in a standard electrical outlet, top left (I need to put a label on it). A standard, always-on outlet already existed (bottom right) from a previous project. Currently, the smart bulbs are plugged into the always-on outlet, but I can easily put dumb bulbs into the light fixtures and plug them back into the dimmer switch if I ever want to.

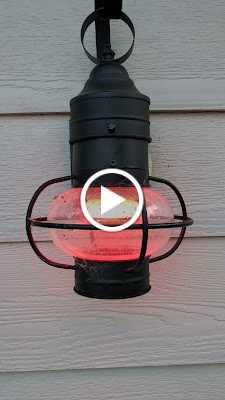
For Halloween, I have the new bulbs on a flickering orange:


In the future, we should also be able to indicate on which side of the driveway we would prefer guests to park, maybe with a blinking green light on the appropriate side.

Wednesday, October 5, 2016

Sparkly Ceiling

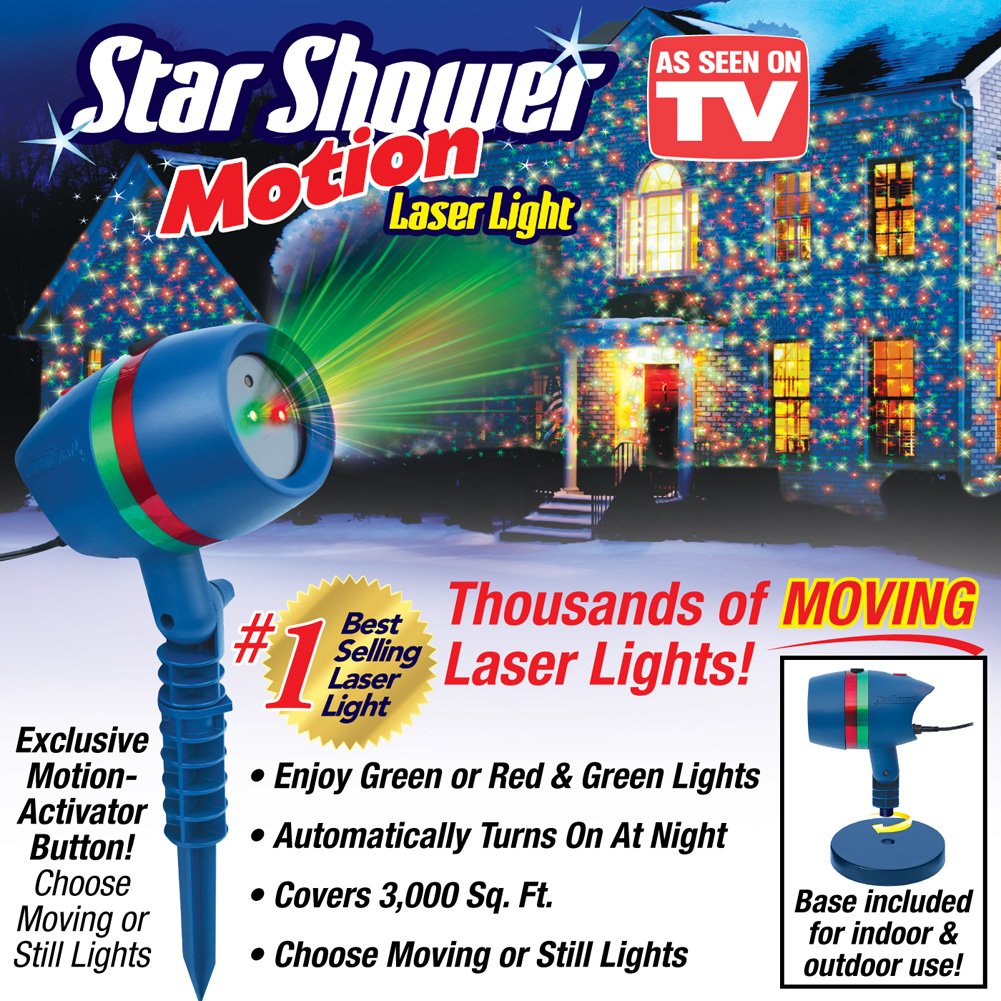
I saw several "star shower" laser projectors last christmas while driving around.


While they look pretty cool, putting them outside and potentially spraying laser light in to air traffic lanes doesn't seem like a great idea. But I thought it would probably look awesome on a ceiling!

I kept an eye out for deals on laser projectors, but the ones with blue lasers are still well above $100 each, more than I was willing to spend. But while I was out grocery shopping, I saw a display of LED-based projectors and played with one. I wound up buying a "kaleidoscope" version with red, blue and green lights for under $20 to try out at home.

I initially set it up on a camera tripod, aimed at the ceiling. With the rest of the house lights off, it actually looked pretty good!

For a permanent set up, I bought a second projector, and mounted both inside floor lamps in the Great Room:


I had to replace the original bulb with two bulbs on a y-splitter in order to fit everything inside the lamp shade.

Here is a picture with the conventional lights on, and the projectors off:


And here's a shot with the conventional lights off and the projectors on:


And here's what the ceiling looks like:


Both projectors are plugged into a zwave switch behind the couch, so it was pretty easy to add these to the rest of home automation system.

Ideally, these cheap projectors will last a few years until the laser projectors come down in price, at which point it should be a fairly simple job to upgrade from LED to laser.

Friday, March 25, 2016

Dining Room Light

Brianna likes as much light as possible, and our Great Room is a kinda dim relative to the rest of the house. So I updated the dining room light fixture from three bulbs to four.


Now the light fixture is like a shielded ball of plasma, with four LED bulbs throwing off 3200 lumens inside the central enclosure.


Sunday, January 17, 2016

Garage Electrical and Lighting

I saw a deal on an LED strip and decided to add some additional light to our garage, so we could see into our trunks better.


If I were to do this again, I'd probably snap a chalk line as a guide - the LED strip kinda undulates as it is.

I had to add an outlet for this light (and re-purposed a Zwave plug) to power the LED strip. In the process, I definitively verified that the seller was lying about having a 240 volt circuit in the garage - the little sub-panel he installed in the garage is single-phase only, and the supply wiring is only rated for 15 amps! Fortunately, the washer and dryer back up against the garage, and since we switched over to a natural gas dryer, there is an unused 240 volt circuit nearby - the dream of having a high-capacity electric car charger is still alive!

The outlets in the garage all tested as having the hots and neutrals swapped, so I replaced the outlets with tamper-resistant outlets and fixed the hot/neutral issue. When I had everything buttoned up, I tested again and discovered the entire garage isn't grounded properly! Ugh. I'll have to fix that when I have more time.


Saturday, January 16, 2016

Interior Star Light

Brianna and I picked up some decorative star lights from the holiday section at IKEA before Christmas. Took weeks to figure out where we wanted to put them. They're in the corner of the dining room now.


And yes, of course they're automated :-D

I named them "Star Lights", as in "Alexa, turn on the star lights, please."

Saturday, October 3, 2015

Back Porch Light Fixture

I had a coupon for Lowes, so I picked up a light fixture a while ago. Today I installed it.


Now it matches the light fixtures on the front of the house.

I painted the vent for the range hood, per HOA guidelines. I think it looked better before, but it is less noticeable now.


I also did some painting touch-up in that general area after I touched up some paint around the solar equipment. And with that wrapped up, I put the paint back inside the house for the winter.

Wednesday, September 16, 2015

150-Watt-Equivalent LED in a Single-Socket Light Fixture

The light fixture we put in our dining room only has a socket for a single bulb, and is only rated for 60 watts. We compensated by putting in a 150-watt-equivalent CFL.


That's the 150-watt-equivalent on the left (consumes 40 watts) and a 60-watt equivalent on the right (13 watts).

Unfortunately, this CFL had a long warm-up period and was not dim-able (and I couldn't find any 150-watt-equivalent, dim-able CFLs). I was ready to automate this switch, so I needed to replace the bulb. Unfortunately, I couldn't find any 150-watt-equivalent LEDs, let alone dim-able LEDs. I had to hack together my own solution.

It took forever, but I eventually found a three-socket fixture on amazon. 

Satco 90-463

I took it apart, spray-painted it silver instead of black, and rewired it. 


Today I installed it with three 60-watt-equivalent LED bulbs:


And here's how it looks now with 2400 lumens, on its own smart dimmer, and included in OpenHAB:


As a side note: it turns out I'm bad at designing experiments. After rewiring the three-socket adapter the first time, I tested it in a socket in the basement. It didn't work. I tore it apart twice trying to figure out what I had wired wrong. I eventually realized my wiring job was fine: the socket I was testing it on had a thick lip that didn't matter with a bulb, but was preventing my socket adapter from screwing in all the way and making good electrical contact. I literally could have had this project done two months ago if I had tested with a different socket.

Saturday, January 3, 2015

Sputnik Lamp Above Piano

Brianna and Link gave me a day to myself today! Rather than catch up on sleep, or reading, or anything like that, I opted to do some electrical work.

We have been meaning to put a light in above the piano for awhile now:


There is an outlet at the base of that wall, behind the piano. The opposite side of that wall is the laundry room.

Inside the laundry room, I cut an exploratory hole to see what I was dealing with:


Turns out there were already wires back there (I left them alone). I cut another hole just above the counter, where I would install a switch for the new light, and add an outlet - for some reason there is only one outlet in the entire laundry room, behind the washer and dryer. This project was a great opportunity to add an outlet on the opposite wall. Who knows? Someday we may even use that outlet to iron our clothes.


I ran a wire up from the outlet on the piano-side of the wall, installed the switch and outlet, and buttoned everything up:


Regrettably, I installed the switch upside-down. Oops. I don't expect to use the switch much, so I left it as-is for now - I was tired for turning the circuit breaker on and off.

And here's the new light!


The bulb is a color-changing LED. It came with a little remote control, which will be the primary method of turning the light on and off. I installed the switch mainly in case of an emergency.